IN GENERAL
Fast Track From Final Cut Pro to DVD SP
Quick Menu From Photoshop to DVD SP
MENUS
Using Motion to Create
Animated Backgrounds (FADE IN )
Using DVD SP Assets From Templates
Auto Assigning Buttons/
More Button Creation-Mapping
Semi/Pseudo Animated Rollovers Sort Of
TRACKS
STORIES
Scriptless Play All/Scene Selection
SCRIPTS
Using Scripts For Preferences (Audio Selection)
| DVDSTEPBYSTEP.COM / QUICK MENUS |
This will show you how to set up a basic menu in Photoshop then bring it into DVD SP.
OVERVIEW
I made a basic Photoshop (CS2) File using the NTSC Template for DV to use in DVD SP
DETAILS
1.) Launch Photoshop and make a new project
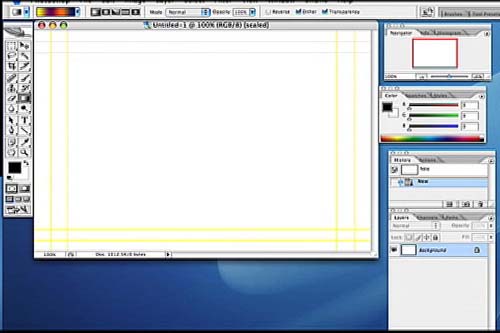
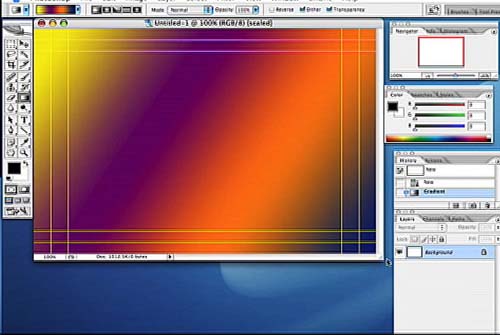
2.) The first layer will be used as the background for the menu in DVD SP. Here I just filled in a gradient
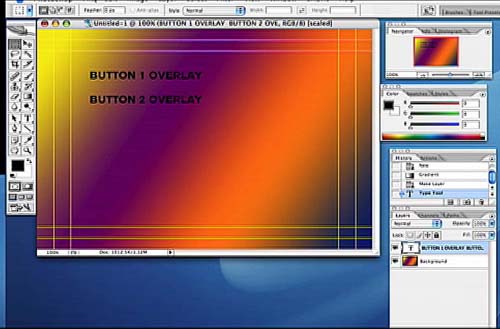
3.) On a seperate layer create some basic text, this is the overlay layer
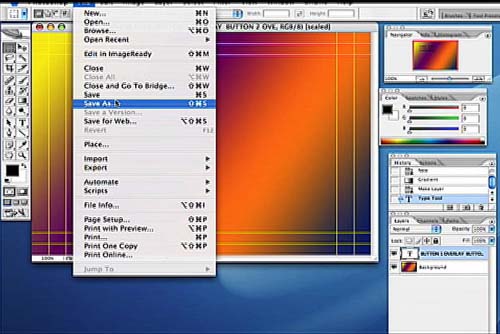
4.) Save EACH LAYER as a seperate Pict File, I used Background and Overlay as the two names.
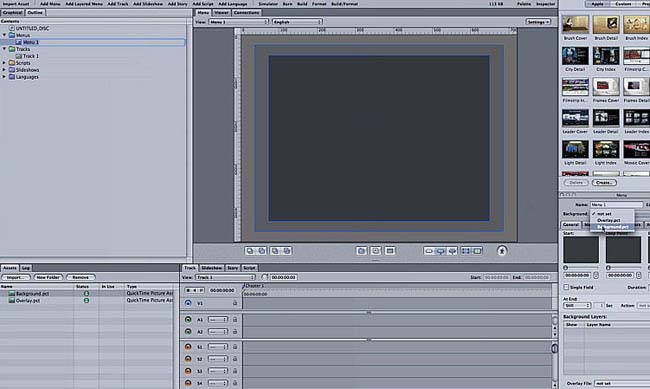
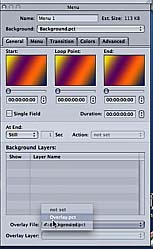
5.) Bring the two files into DVD SP and use the inspector to set the background and overlay sections:
6.) Create buttons on the menu over the areas with the text
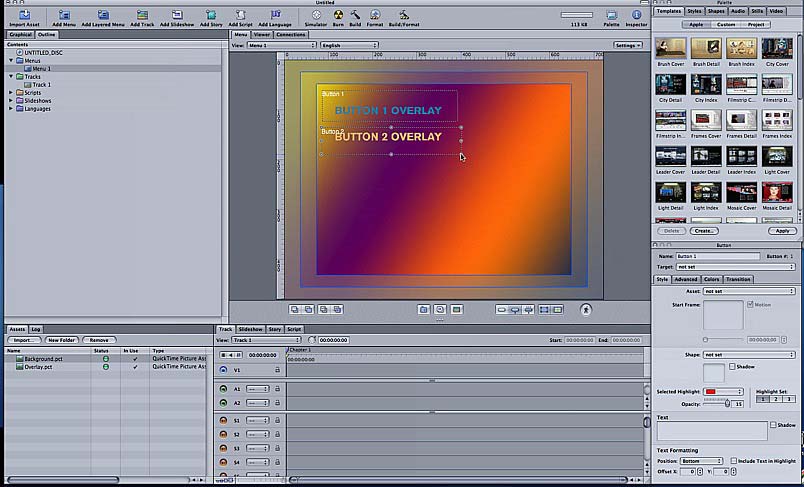
7.) Note the following, in the inspector color tab is where you set colors. As shown it is mapping for the buttons NORMAL STATE a beige color. BLACK will show 15 of the color. 66% Gray will show 9 out of 15 of the Beige, etc. If there colors (Black, Gray) were in the overlay they could each be mapped (this is a real simple overlay though, just black)
